Are you an aspiring content creator who wants to start a video podcast? Maybe you're wondering what type of microphone is best for beginners—USB, XLR, or a hybrid USB/XLR.
Let’s unravel an easy workflow and guide for new content creators looking to start a podcast. Explore expert tips on how other video podcasters have become successful. Keep reading.
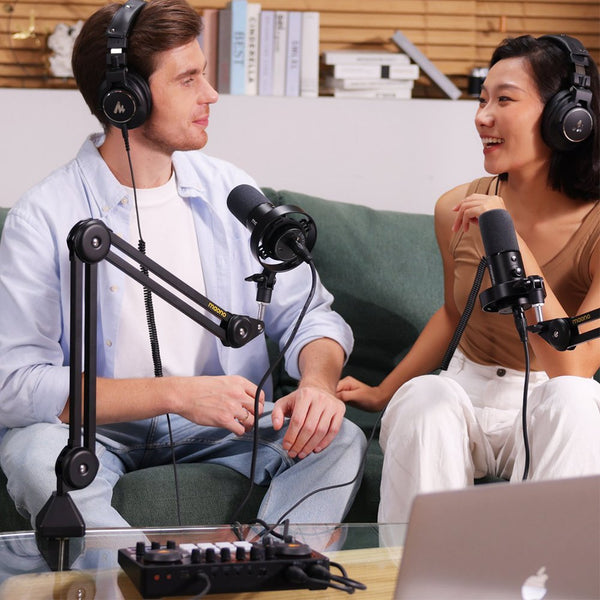
Creating a compelling podcast or video series starts with more than just speaking into a microphone—it requires a balance of technical skill, proper equipment, and strong delivery. Whether you're a beginner or upgrading your workflow, building a professional-quality home studio and mastering wireless microphone techniques can transform your content instantly. This article covers everything you need to level up your production, including pro tips to improve your podcast delivery and voice quality, connecting and setting up the Maono PD200W, syncing audio, lighting strategies, and choosing between USB or XLR for filming with dynamic microphones.
Building a Professional Home Studio for Podcasting + Video Content
The growth of podcasting and video-based content has made at-home studios more important than ever. Today’s creators want flexibility—an affordable setup that still delivers polished, studio-level quality. Good news: you don’t need a huge budget or a large space. With the right podcasting microphone setup, proper room treatment, careful lighting, and a basic editing workflow, you can create content that looks and sounds professional.
A crucial part of this is choosing the right microphone for podcasting—especially when working with podcast-style audio in video content. Dynamic hybrid microphones like the Maono PD200W, which offer both USB and XLR output, give creators versatility across recording environments and devices. This is especially useful for beginners looking for a cheap podcast microphone or an inexpensive microphone for podcasting that still delivers strong results. With its hybrid design, the PD200W can even serve as the best microphone for a podcast for creators on a budget.
Beginner-Friendly Video Production Workflow Using a USB/XLR Microphone
A smooth workflow helps creators stay consistent. If you're new to podcasting or video creation, here’s a simplified process to follow:
1. Plan and outline your content
Define your topic, segments, and story flow. Make sure your talking points are easy to follow.
2. Prepare your recording space
-
Use rugs, curtains, or foam panels to reduce echo
-
Remove noisy appliances
-
Turn off fans or external background noise sources
3. Set up your Maono PD200W microphone
Choose USB if you want:
-
Quick plug-and-play recording
-
Recording straight to your laptop
-
No need for an external interface
Choose XLR if you want:
-
More refined sound quality
-
More control over gain and equalization
4. Position your microphone
A distance of 4–6 inches ensures clear, rich audio. Use a pop filter or foam windscreen to avoid plosives.
5. Test before recording
Check levels, lighting, camera focus, and background.
6. Film and record your audio
Record video through your camera, and audio through your mic (USB/XLR). Recording separately gives better quality.
7. Sync audio with video
This can be done easily using editing software like Premiere Pro, DaVinci Resolve, or CapCut.
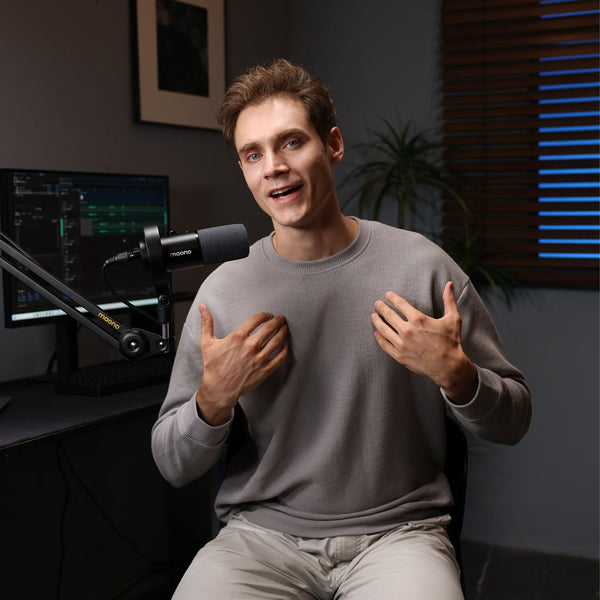
Podcast Host Tips: How to Improve Delivery, Presence, and Voice Quality
This is where your content becomes memorable. Here are essential pro tips to improve your podcast delivery and voice quality:
1. Warm up your voice
Hum, practice breath control, or read a paragraph aloud. This reduces strain and improves tone.
2. Maintain proper posture
Good posture opens your diaphragm and helps you sound confident.
3. Control your pace
Avoid speaking too fast. Pause intentionally between ideas to let your message sink in.
4. Learn mic control
Move slightly closer for softer, intimate lines, and back up for louder moments.
5. Reduce vocal clutter
Avoid filler words: (“um,” “like,” “you know”). Awareness and practice are key.
6. Record multiple takes
Taking 2–3 versions of each segment gives you flexibility during editing.
7. Smile while speaking
It naturally improves tonal warmth and listener engagement.
How to Connect the Maono PD200W to Cameras, Smartphones, and Audio Interfaces
The PD200W’s hybrid connectivity makes it highly flexible.
Connecting to a DSLR or Mirrorless Camera
Because cameras don’t power XLR mics directly, you must connect the PD200W via:
-
An audio interface, or
-
A camera audio adapter (e.g. Comica, Saramonic, or Beachtek)
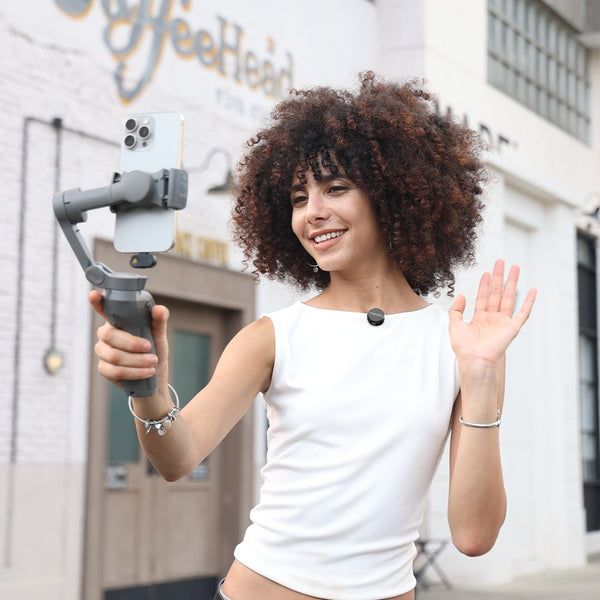
Connecting to a Smartphone
Use:
-
A USB-C to USB-C cable for direct digital recording
-
An appropriate dongle for iPhones
-
A video app that accepts external microphone input (e.g., Open Camera, Filmic Pro)
Connecting to a Computer
Via:
-
USB (plug-and-play)
-
XLR (requires audio interface like Focusrite, Maonocaster E2, etc.)
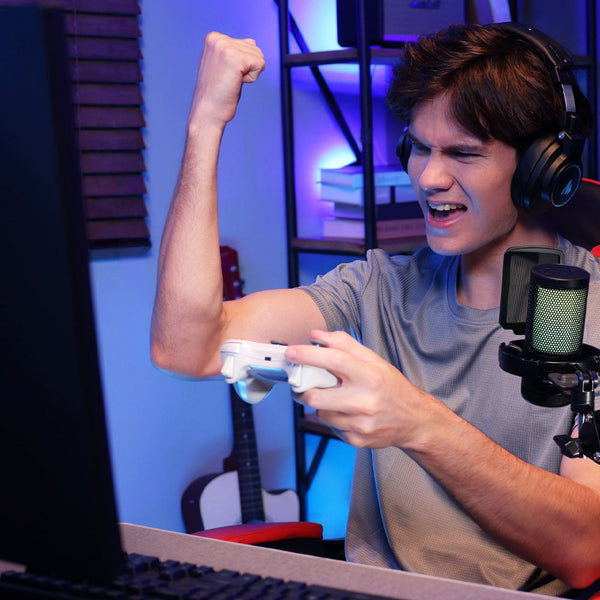
Microphone Techniques for Clear Audio in Video Tutorials and Vlogs
Your microphone technique greatly influences your sound quality.
1. Stay consistent with distance
Keep your mouth the same distance throughout the recording.
2. Angle the mic slightly
A 20–30° angle reduces harsh “P” and “B” sounds.
3. Speak past the microphone
Instead of directly at it—this reduces plosives.
4. Use a boom arm or mic stand
This avoids handling noise and positions the mic out of frame for video content.
5. Record in a controlled space
Avoid hard surfaces that reflect sound.
Best Camera & Lighting Setups That Complement the Maono PD200W
Even with great audio, your visuals matter—especially for YouTube or interview-style content.
Recommended lighting setup:
-
Key Light: A soft LED panel angled 45° from your face
-
Fill Light: Reduces shadows on the opposite side
-
Back Light / Hair Light: Separates you from the background
Camera setup essentials:
-
Use a lens with a wide aperture for blurry backgrounds
-
Place the camera slightly above eye level
-
Keep a clean, uncluttered background
Position your PD200W close to your mouth but just outside the camera frame for a cleaner look.
Editing Tips: Syncing High-Quality Mic Audio With Video Easily
Syncing audio from your PD200W involves:
1. Record a clap
Clap once at the start of recording. The spike in both tracks helps with syncing.
2. Use software auto-sync
Apps like Premiere Pro offer “Merge Clips,” while DaVinci Resolve has “Auto Align Audio.”
3. Clean up noise
Use tools like:
-
Noise reduction
-
High-pass filter at 80–100 Hz
-
Compression for consistent levels
4. Add EQ
Boost 2–5 kHz slightly for speech clarity.
USB vs. XLR for Filming Videos: Which Should You Choose?
USB Pros
-
Affordable
-
No audio interface needed
-
Quick and easy setup
-
Portable
USB Cons
-
Slightly lower headroom
-
Limited upgrade options
XLR Pros
-
Highest audio quality
-
Works with mixers and interfaces
-
More control over gain and EQ
-
Flexible for multi-mic setups
XLR Cons
-
Requires extra equipment
-
More expensive
Why Hybrid USB/XLR Mics Are Ideal for Video Production
Hybrid microphones like the PD200W allow you to switch between USB and XLR depending on your environment, giving flexibility and long-term value for creators building a reliable podcasting microphone setup.
Microphones like the Maono PD200W give you:
-
USB for portable filming
-
XLR for studio-grade audio
-
Seamless switching depending on the environment
-
Long-term scalability as your setup grows
This makes them perfect for creators who want versatility.
How Do I Properly Set Up the Maono PD200W for Video Recording?
Follow this quick setup guide:
-
Mount the mic on a boom arm or stand
-
Attach a pop filter or foam cover
-
Connect via USB or XLR
-
Position the mic 4–6 inches from your mouth
-
Set gain to 40–60%
-
Test recording before filming
-
Monitor audio through headphones
Should I Use USB or XLR When Filming Videos?
Use USB when:
-
Filming on your laptop
-
Doing solo content
-
Prioritizing convenience and speed
Use XLR when:
-
Filming in a full studio
-
Using a mixer or interface
-
Recording multiple speakers
How Do I Connect the PD200W to a DSLR or Mirrorless Camera?
Because cameras require powered audio input, use:
-
An audio interface to camera line-in
or -
A camera-specific audio adapter
You can also:
-
Record audio to your computer
-
Sync it later during editing
This keeps your audio high-quality and avoids camera preamp noise.
Conclusion

Improving your podcast delivery and voice quality starts with mastering your microphone, refining your vocal technique, and building a recording environment that supports professional-quality sound. Using a hybrid microphone like the Maono PD200W gives you versatility across any creative setup—ideal whether you're upgrading your studio or searching for a cheap podcast microphone, an inexpensive microphone for podcasting, or simply the best microphone for a podcast that fits your workflow.
Pair that with strong lighting, a polished camera setup, and a smooth editing workflow, and you'll produce engaging podcasts and videos that keep your audience coming back.
Come get your Maono products at a discounted price. Limited stocks only, so hurry before the Christmas sale ends!