


Are you ready for Halloween trick-or-treat? You can create fun trick-or-treat ideas using materials you already have at home—all you need is a little creativity and a wireless lapel microphone system or a recording mic wireless setup for your voiceover, and you’re all set for one awesome content idea!
Let’s explore how to make a Halloween treat box and get started!
Halloween is the perfect time to unleash your creativity, whether you’re hosting a spooky get-together, planning a classroom activity, or running a craft channel online. Among the most charming DIY projects you can make is a Halloween treat box—a small but delightful paper craft designed to hold candies, mini toys, or themed surprises.
But here’s the twist: this time, you’re not just crafting—you’re also adding a professional touch with a wireless microphone to record your process or spooky greetings for your audience. By blending paper crafting with creative audio narration, you can make your Halloween projects come alive, both visually and aurally.
This guide will take you through every step of creating your treat box, decorating it, and enhancing your project using wireless lav mic systems like the Maono Wave T5 and Maono Wave T1 Mini for clean, clear voiceovers.

Assembly Step-by-Step: Folding Order, Reinforcements, and Troubleshooting
Start by printing your Halloween treat box template on sturdy paper. Many free templates are available online, ranging from haunted houses to pumpkin shapes or classic cube boxes.
-
Cut and score the template along the solid and dotted lines.
-
Fold inward along each score line to create clean edges.
-
Reinforce weak points—such as the base and lid—using an extra layer of cardstock or a small piece of tape inside the seams.
-
Glue strategically: Apply adhesive on flaps only where indicated to avoid misalignment.
-
Let it dry flat before final assembly to prevent warping.
Common troubleshooting:
-
If corners misalign, gently refold using a bone folder or ruler edge.
-
If glue causes wrinkles, switch to double-sided tape for cleaner adhesion.
-
For uneven folds, rescore using a blunt butter knife along a ruler.
Decorating Ideas: Spooky Finishes and Kid-Friendly Options
Once the box is assembled, it’s time to decorate! Let your imagination run wild with spooky, fun, or whimsical finishes:
-
Ink & Stamps: Add ghostly smudges or cobweb motifs using black or orange ink pads.
-
Die-cuts: Create layered bats, witches, or pumpkins from metallic or glitter cardstock.
-
Stickers: Perfect for kids—choose Halloween-themed sticker sets for quick decoration.
-
Glitter & Paint: Lightly dust edges with orange glitter or use glow-in-the-dark paint for eerie night effects.
-
Kid-friendly tip: Use washable markers and non-toxic glue for classroom-safe crafts.
Pro tip: Design a “theme” for your boxes—like Haunted Treats, Monster Bites, or Witchy Goodies—to make them perfect for parties or small business packaging.
Tools & Supplies: Paper Types, Adhesives, Cutting Tools, and Safe Options
Materials checklist:
-
Printable box template
-
A4 or Letter-sized cardstock (200–250 gsm)
-
Double-sided tape or craft glue stick
-
Scissors or craft knife
-
Ruler and scoring tool (bone folder or stylus)
-
Decorating items: stickers, ink pads, glitter, ribbons
-
Wireless lav system (for voiceover narration)
For kids, ensure cutting tools are safety scissors and adhesives are non-toxic. Always supervise young crafters during scoring or gluing.
Cutting & Scoring: Clean Edges, Crisp Folds, and Time-Saving Tips
Precision cutting and scoring give your box a professional look.
-
Print in high quality for clear cutting guides.
-
Use a metal ruler to guide straight cuts.
-
Score lightly first—too much pressure can tear the paper.
-
To save time, use a scoring board if making multiple boxes.
-
Keep blades sharp; dull scissors can fray paper edges.
When folding, press creases firmly with a bone folder for a clean finish. This ensures your treat box stands upright and holds treats securely.
Recording with a Wireless Mic: Setup, Levels, Syncing & Troubleshooting
If you’re filming your craft tutorial or voiceover, a wireless lapel mic system adds professionalism and clarity.
Setup:
-
Connect your wireless receiver to your smartphone, camera, or computer.
-
Clip or mount the mic near your chest or recording station for consistent sound pickup.
Audio levels:
-
Set recording levels so your voice peaks around -6dB for clean sound without distortion.
-
Avoid noisy environments—turn off fans or background devices.
Syncing audio to video:
-
If recording separately, use a clap or hand tap before starting to align audio in editing software later.
Troubleshooting interference:
-
Ensure no Wi-Fi routers or Bluetooth devices are too close.
-
Keep transmitter and receiver within the recommended range (usually 10–15 meters).
-
Replace or recharge batteries before recording sessions.
Adding a Wireless Mic for Voiceover: Best Positions & Mounting Ideas
Want to take your craft up a notch? Embed or hide your wireless lav mic system in your workspace for a hands-free experience.
Mounting ideas:
-
Place the mic behind a prop or near the box to capture crisp narration while crafting.
-
For ASMR-style effects, position it close to your cutting or folding area.
-
Use a mic arm or tabletop stand if you prefer off-screen commentary.
Tip: Avoid direct mic contact with paper to reduce rustling noises. Test placement before the final recording to find your sweet spot.
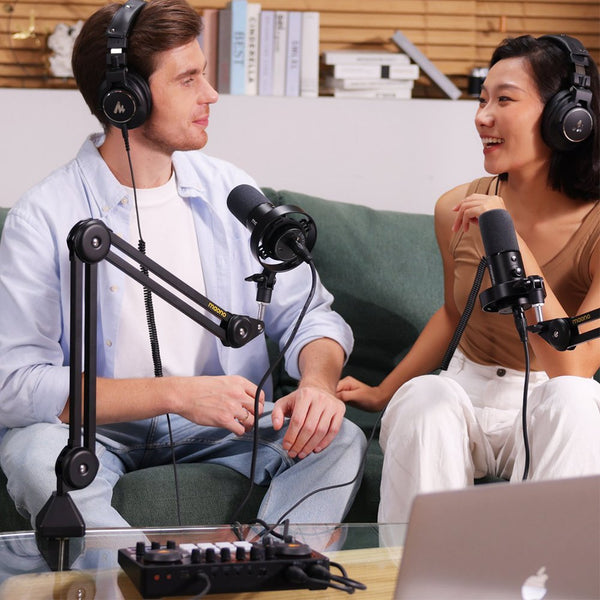
Recommended Wireless Mics: Maono Wave T5 & Maono Wave T1 Mini
Two excellent options for creators are:
-
Maono Wave T5 – The Maono Wave T5 is a compact recording mic wireless with noise reduction, real-time monitoring, and plug-and-play connectivity for phones and cameras. Perfect for clear narration during crafting tutorials.
-
Maono Wave T1 Mini – This Maono Wave T1 Mini is a smaller version offering portable convenience, long battery life, and crisp audio pickup ideal for short videos or mobile creators.
Both deliver studio-quality voiceovers with minimal setup—perfect for hobbyists and YouTubers who want professional audio on a budget.
Voiceover Script & Performance Tips: Short Spooky Lines, Pacing, and Character Voices
Voiceovers add life to your Halloween tutorial. Keep them short, energetic, and thematic.
Sample spooky lines:
-
“Welcome to my haunted craft corner…”
-
“Beware! These treats come with a sweet curse!”
-
“Fold carefully—or the ghost of Halloween past might appear!”
Tips for recording:
-
Pace your narration: Match your speaking speed with each crafting step.
-
Use expressive tones: Shift between playful and eerie to fit your Halloween mood.
-
Warm up your voice before recording for clarity and consistency.
-
Edit smartly: Trim pauses, normalize volume, and add subtle reverb for atmosphere.
Adding light background music or sound effects—like creaking doors or distant thunder—can turn your craft video into a complete Halloween experience.
FAQ Section:
1. Which printable template works best for beginners?
Start with a cube or pillow-box template—simple folds, easy assembly, and minimal cutting.
2. What paper weight is ideal?
Choose 200–250 gsm cardstock for durability and easy folding.
3. Can I use cardstock or specialty paper?
Cardstock is perfect. Specialty papers like pearl or glitter finish add elegance but may require stronger adhesives.
4. What adhesive should I use?
Double-sided tape for speed; craft glue for lasting hold. Avoid liquid glue to prevent wrinkles.
5. How can I resize templates without distortion?
Adjust “scale” in your printer settings or resize the file in design software like Canva before printing.
6. What are quick scoring techniques?
Use a ruler and bone folder or an empty ballpoint pen for crisp, controlled folds.
7. How do I reinforce the bottom?
Cut a small square of cardboard and glue it inside the base for extra strength.
8. Which wireless mics are compact enough to hide?
Both the Maono Wave T5 and Maono Wave T1 Mini are small, lightweight, and discreet.
9. How to mount a mic safely on paper?
Use removable adhesive strips or Velcro dots to attach the transmitter securely.
10. How to reduce candy noise in the mic?
Line the box interior with tissue or felt to absorb sound.
11. Best scripts for 10–20 second videos?
Focus on catchy intros and call-to-actions—short, fun, and spooky!
12. How to record clean audio with a smartphone?
Use your wireless mic’s receiver with your phone and record in a quiet space.
13. Ideal mic placement?
6–8 inches from your mouth or near your workspace, avoiding rustling surfaces.
14. How to sync separate audio and video?
Clap or tap at the start to create a visible and audible cue for easy alignment.
15. Basic audio editing to polish sound?
Apply noise reduction, EQ, and compression for professional results.
16. Can I record live reveals?
Yes, just ensure low latency mode and maintain proper mic distance to avoid feedback.
17. Fun sound effects?
Use creaking doors, bats flapping, or witch laughter sparingly for atmosphere.
18. Making it kid-friendly?
Simplify cutting, pre-score templates, and use stickers instead of sharp tools.
19. Ideal video length?
Keep tutorials between 5–8 minutes for strong viewer retention.
20. How to brand boxes for parties or sales?
Add personalized tags, custom stickers, or small QR codes linking to your social media or craft shop.

Conclusion
Creating a Halloween treat box is more than just a paper craft—it’s an opportunity to express creativity, engage your audience, and produce professional-quality content. With careful folding, fun decorations, and a clean wireless lapel mic system or wireless lav system, you can transform a simple DIY project into an eye-catching, shareable Halloween feature.
Whether you use the Maono Wave T5 for crisp narration or the Maono Wave T1 Mini for quick mobile voiceovers, pairing your visuals with a recording mic wireless setup ensures professional-grade sound.
So grab your paper, power up your mic, and let your spooky creativity speak—literally!
Related Article: