Shop PD200X All In One White Podcast Starter Kit Collection, 3-7 Days US/ EU Shipping Learn more>>
PD400XS Microphone Set For Podcasting & Recording Learn more>>
Wireless Microphone
XLR & USB Microphone
USB Microphone
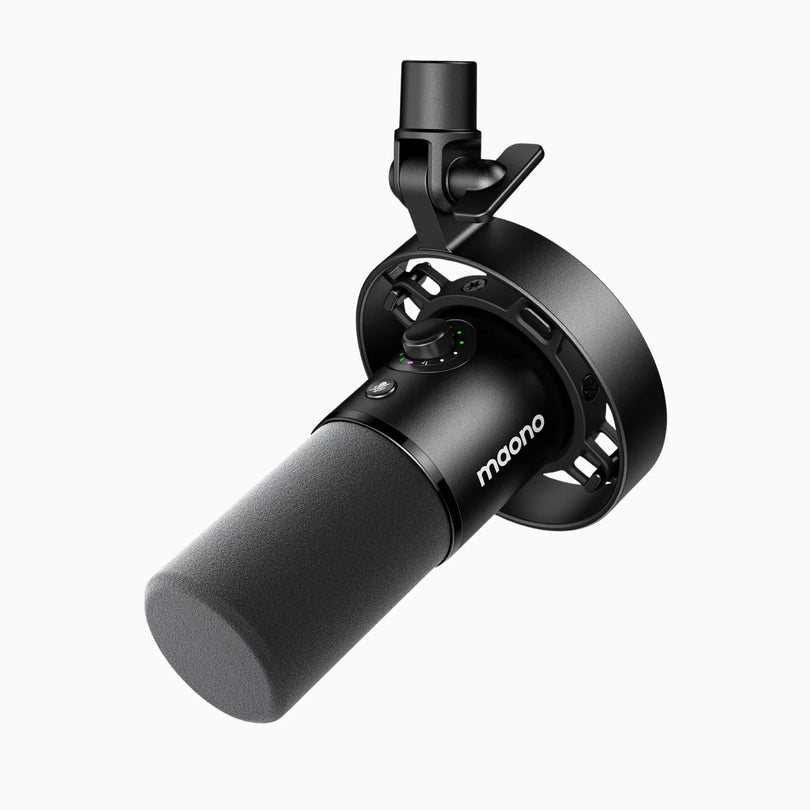
XLR Microphone
Podcast Equipment Bundle
Starter Kit For Game Streamers
Cart
Your cart is empty
Maonocaster AME2 User Guide Video
Click to check
Maonocaster AME2 Guide Manual (Click)
Maonocaster AME2A Guide Manual (Click)
Click Here
Click here